Here is the eating area in the kitchen.
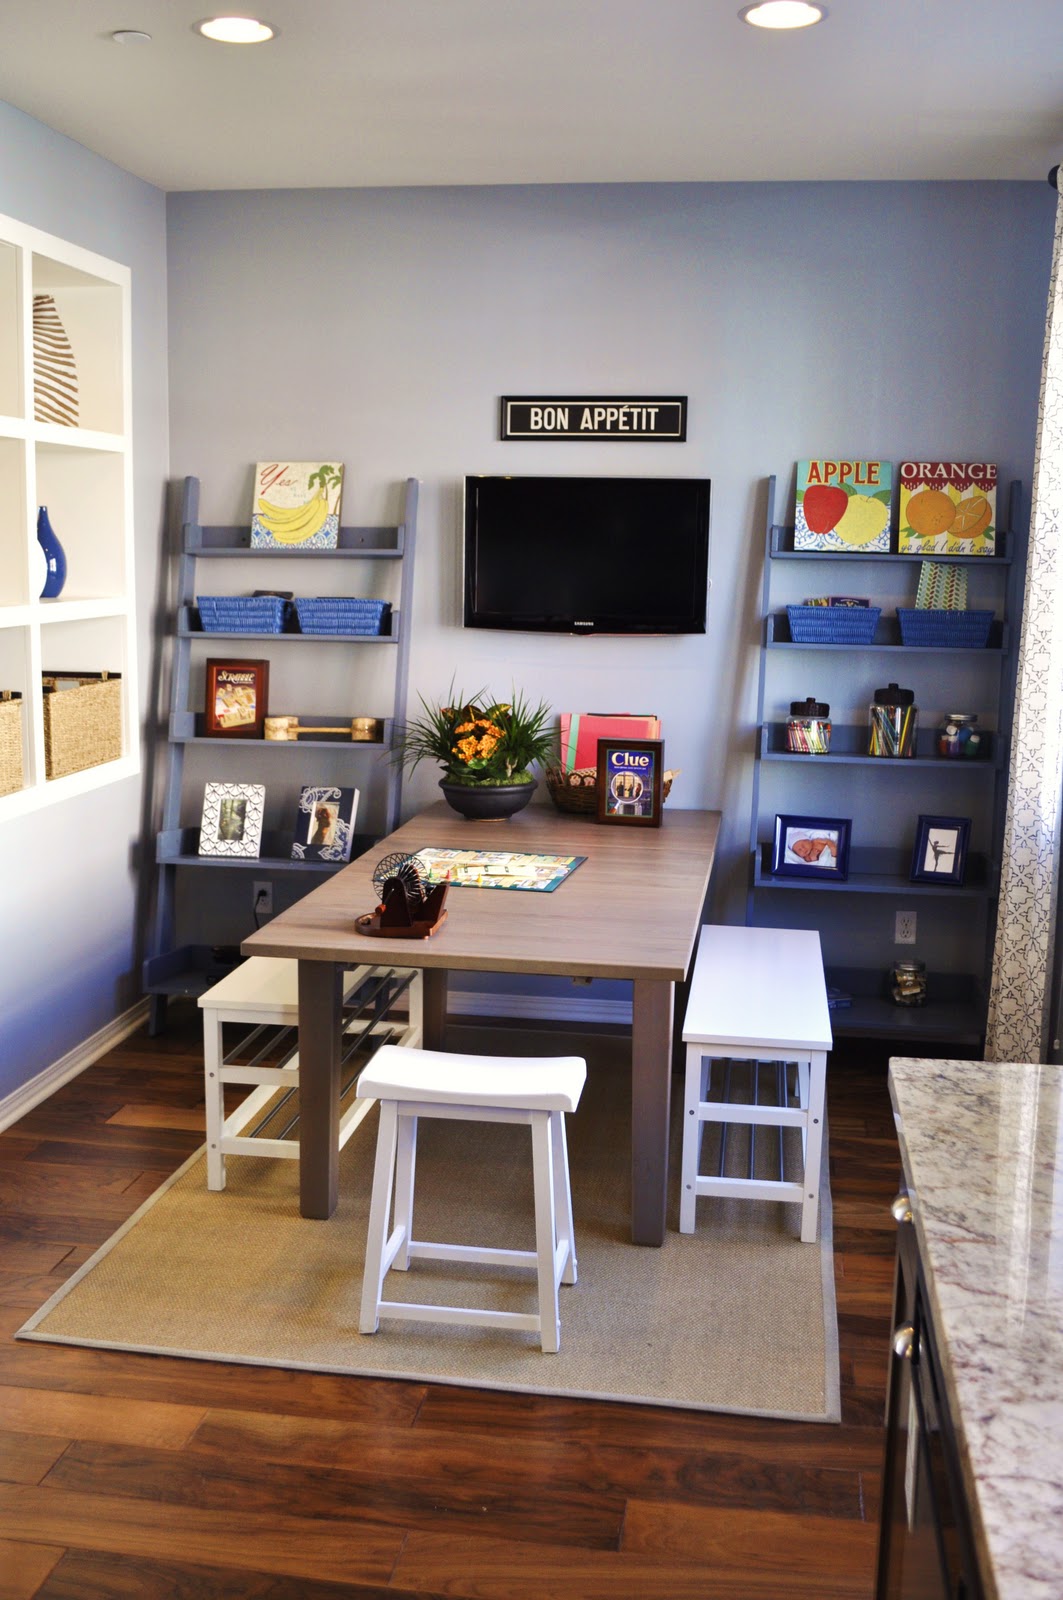
I liked that the benches and stools gave a more open feeling and it seemed like a great place for kids to hang out and eat.

The shelves in the back contained family games and school/art supplies so it would be a great mult-purpose area where the kids could play or do homework while dinner was being prepared. The baskets could hide papers and mail or games. A lot of stores carry baskets, I like a lot from Cost Plus and Ikea.

The wall between the kitchen and living area had these built in shelves that allowed for more display and hidden storage of toys/supplies but also let light through. It would also be great to have the ability to see the kids if they were in one room or the other so they are never out of the field of vision.

The kitchen itself was nice but not super interesting. I do like the amount of space they left open though.

The living room had a more grown up dining area and seemed like a great space to have people over. I really like the mix of different woods and pained furniture that allows for more flexibility in what you buy. The chairs also match the benches from the kitchen so they could be interchangeable if needed.

The bedroom wasn't complicated or super interesting but I liked the ceiling lamps that freed up the space on the bedside tables. There is also a lot of storage in those side cabinets and each has a basket for more hideaway storage for less "pretty" things like tissue and glasses.
Most really nice pendant lamps I looked at were pretty pricey but HERE is one from Ikea for only $9

If only this was what my bathroom counter tops looked like. I would be lucky to have only one tray of stuff (mine and the kids) taking up space let alone have room for a decorative plant.

The "girls" room was nice and bright and I liked that the accessories and furniture could be easily transitioned to an older girl. The lamps on the side dressers were acrylic or glass and the butterfly/nature theme seemed easy to update or change with new bedding and wall decor.

 These are the butterflies that were on the walls. They also were a cute idea that would be simple to replicate with fabric scraps. I'm not sure how they were held onto the wall (mental note to check such things next time I see an idea I like.) I think maybe some Velcro type dot or some 3M product that sticks temporarily might work. These would also be cute for a mobile or attached to a sheer curtain.
Pottery Barn has a paper stick on option that might also be copied using a stencil and craft paper or scrapbook paper.


I liked these lamps because (though they are filled with sand and nests with eggs that I found odd for a "boys" room) they could be used in many rooms with different themes if you filled them with different interesting objects or changed them out for seasonal items or even pictures. Click HERE for a similar lamp.

This was just an interesting idea. It looks like paper cutouts of some kind on a navy blue background but could be duplicated with fabric or paper doilies or some other lightweight craft objects on any color background and used for a bigger "art" piece in a hall or bathroom. The cost would be mostly for the frame and some paper to back it with (possibly wrapping paper.)
Here is an example of a different but similar idea. Click HERE for the tutorial.

No comments:
Post a Comment